



Photo Investigation
Photo Investigation: Uncovering the Macabre
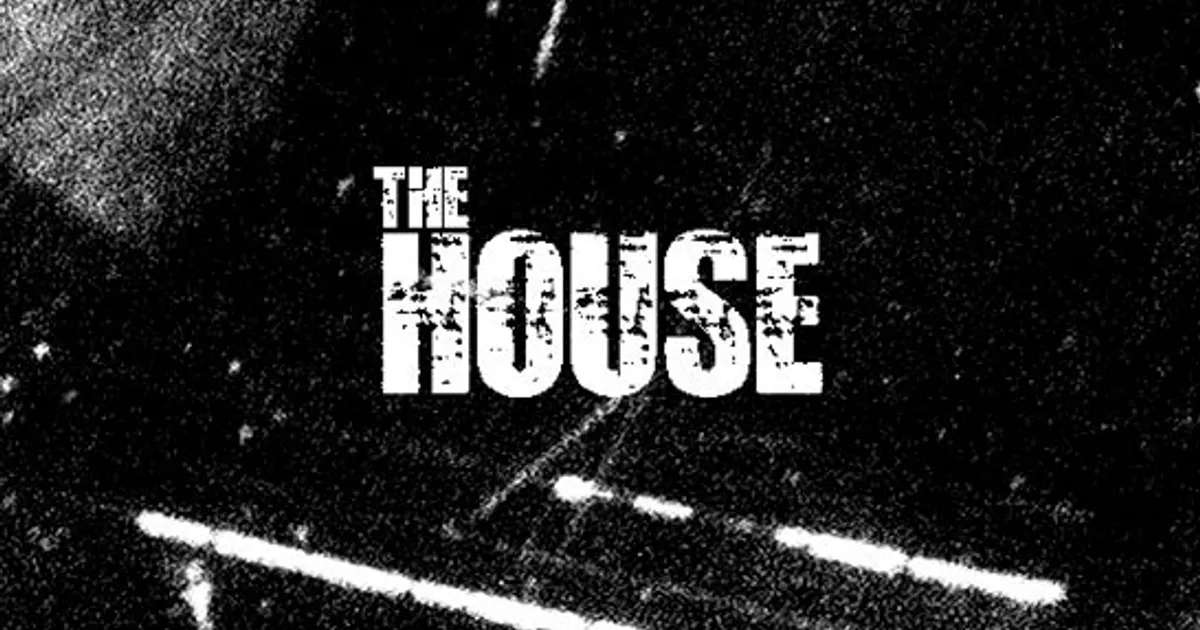
Stepping into the world of Photo Investigation requires more than just a sharp eye; it demands a psychological detachment from the normalcy presented in every frame. As a digital detective, your primary loop involves scanning static environments for inconsistencies that defy logic. Photo Investigation forces players to confront the uncanny, where a simple shift in a shadow or the sudden appearance of a glyph signals a deepening descent into a narrative void.
The core gameplay loop of Photo Investigation centers on the meticulous examination of corrupted memories. You are not merely playing a spot-the-difference game; you are performing a digital autopsy on haunted locations. Every level in Photo Investigation presents a high-resolution snapshot where the environment feels stagnant until your interaction triggers a revelation. The game rewards those who treat every pixel as a potential piece of evidence.
When you start a session of Photo Investigation, the initial calm is a calculated deception. The game relies on your complacency, waiting for you to lower your guard before introducing subtle, disturbing changes. Successfully navigating Photo Investigation requires you to maintain a constant state of hyper-vigilance, ensuring that no corner remains unscrutinized during your search for the truth.
The Detective's Lens
Your primary tool in Photo Investigation is the zoom function, which allows you to isolate specific sectors of the frame. By focusing on narrow corridors or cluttered shelves, you can identify anomalies that would otherwise remain hidden in the wider composition. This mechanical interaction is vital for anyone hoping to conquer the later levels of Photo Investigation without losing their nerve.
Beyond simple magnification, Photo Investigation expects you to manipulate the raw data of the images. Adjusting the contrast and brightness levels is not just an aesthetic choice; it is a mechanical necessity. The following mechanics define your success in Photo Investigation:
- Chromatic Analysis: Shifting color channels to reveal hidden text or symbols.
- Luminance Calibration: Pushing brightness to expose entities lurking in dark corners.
- Temporal Comparison: Toggling between states to spot shifting objects.
- Spatial Marking: Pinpointing anomalies to trigger narrative progression markers.
By mastering these tools, you transform from a casual observer into a seasoned investigator. Photo Investigation relies on this loop to build tension, ensuring that every second spent analyzing a frame feels like a race against an unseen antagonist. The satisfaction of identifying the final anomaly in Photo Investigation is matched only by the dread of what the next image might contain.
Pro-Tip: Always scan the edges of the frame first. Many players focus on the center, allowing the developers of Photo Investigation to hide the most crucial clues in the periphery where the eyes naturally wander less frequently.
Analytical Telemetry Parameters
| Metric | Data Point |
|---|---|
| Developer | HorrorGames.io |
| Genre | Psychological Investigation |
| Primary Input | Mouse/Pointer Interaction |
| Difficulty Scaling | Dynamic Anomaly Frequency |
Manipulating Exposure
The ability to tweak the visual output of the files is where Photo Investigation shines as a unique experience. By dragging the sliders to alter the exposure, you effectively peel back the layers of reality presented in the game. Many users find that Photo Investigation becomes significantly more intense once they realize that the darkness itself is a canvas for hidden horrors.
When you modify the contrast in Photo Investigation, you are looking for jagged edges or textures that do not conform to the surrounding environment. This mechanical interaction is the bridge between a static image and an active narrative. Mastering this in Photo Investigation allows you to bypass the initial visual filter and see the sinister reality underneath.
The Horror of Detail
What makes Photo Investigation stand out is the way it weaponizes your attention span. In Photo Investigation, the horror is not jumpy or loud; it is invasive. It sits in the corner of your screen, waiting for you to notice that a chair has moved or that a face has appeared in a reflection. This slow-burn approach defines the identity of Photo Investigation.
As you progress through the levels, the game demands more precision. Photo Investigation does not hold your hand, and the time limits imposed on your search add a layer of stress that often leads to mistakes. Keeping your cool is essential, as Photo Investigation is designed to make you second-guess your own perception of the images provided.
Mastering Visual Anomalies
To truly excel, you must understand that Photo Investigation is a game of pattern recognition. The developers have meticulously placed clues that follow a specific logic, even if that logic feels alien at first. By identifying these patterns in Photo Investigation, you can predict where the next anomaly is likely to manifest, turning the game's difficulty curve into a manageable path.
If you find yourself stuck, look for the 'wrongness' in the geometry of the room. Photo Investigation often places anomalies where the perspective lines do not align correctly with the architecture. Developing this 'architectural eye' is the most effective way to improve your scores in Photo Investigation.
Pattern Recognition
The most successful players of Photo Investigation use a structured approach to every image. Instead of clicking randomly, they divide the frame into a mental grid. This ensures that every inch of the photo is covered, leaving no room for the game to hide its secrets. Here is a recommended workflow for tackling tough levels in Photo Investigation:
- Perform a broad scan of the image to identify major architectural features.
- Zoom into high-density areas such as doorways, windows, and dark furniture.
- Adjust the filter settings to highlight potential color-based anomalies.
- Cross-reference the current state with your memory of previous images.
- Mark the anomaly only after confirming it violates the logic of the scene.
Applying this method to Photo Investigation will drastically reduce your completion times. While the game starts easy, the later stages of Photo Investigation require a level of scrutiny that can be exhausting. Taking breaks between sessions is recommended to keep your observation skills sharp.
Ultimately, Photo Investigation is a testament to how simple mechanics can create a deeply unsettling experience. By focusing on the details, you become an active participant in a dark story that unfolds one click at a time. Whether you are a fan of horror or just love a good mystery, Photo Investigation provides a compelling challenge that tests your patience and your eyes.
Frequently Asked Questions About Photo Investigation
How can I identify the most difficult, well-hidden anomalies in Photo Investigation?
The key to finding the most elusive anomalies in Photo Investigation is to focus on lighting inconsistencies. Often, the game will hide a subtle change in the shadows or a reflection that doesn't match the source light. By using the contrast and brightness tools, you can force these hidden details to stand out against the background, making it much easier to spot the differences that the game has tucked away.
Why does the game feel so stressful during the later levels of Photo Investigation?
Photo Investigation is designed to induce a sense of urgency through its timed objectives. As you progress, the game reduces the time window for finding all anomalies, which forces you to scan the image faster and with less room for error. This pressure is a core mechanic of Photo Investigation, intended to make you panic and miss the subtle visual cues that identify the final hidden objects.